My family and I have had a garden on and off for several years. But we haven’t had one over the last three years due to dogs and kids. Our struggle has been that either our dogs run through the garden or my children or the neighborhood kids that come and play at our house tear through it despite our attempts at rudimentary fencing and hollering not to run through said garden.
So we gave up on the garden idea until this year. We decided to try something new and make a raised garden instead. Now I know all you seasoned gardeners will quickly see that this garden isn’t very big. We know that, but we were working with a limited budget, so this year will be enough for us. The plan is to add on next year and keep building from there.
Our 2023 Garden Plan
For 2023, we are planning on planting seeds: carrots, green beans, cucumbers, cherry tomatoes, broccoli, kale, and peppers. I’m using this fancy calendar thingy that I found (the free version) to help me know when we should plant since this is the first year we’ve done a whole garden straight from seeds.

One of the ways that we’re using frugal gardening is to start the seeds that can’t be directly planted in makeshift greenhouses. We’re recycling milk and orange juice containers for our seedlings.

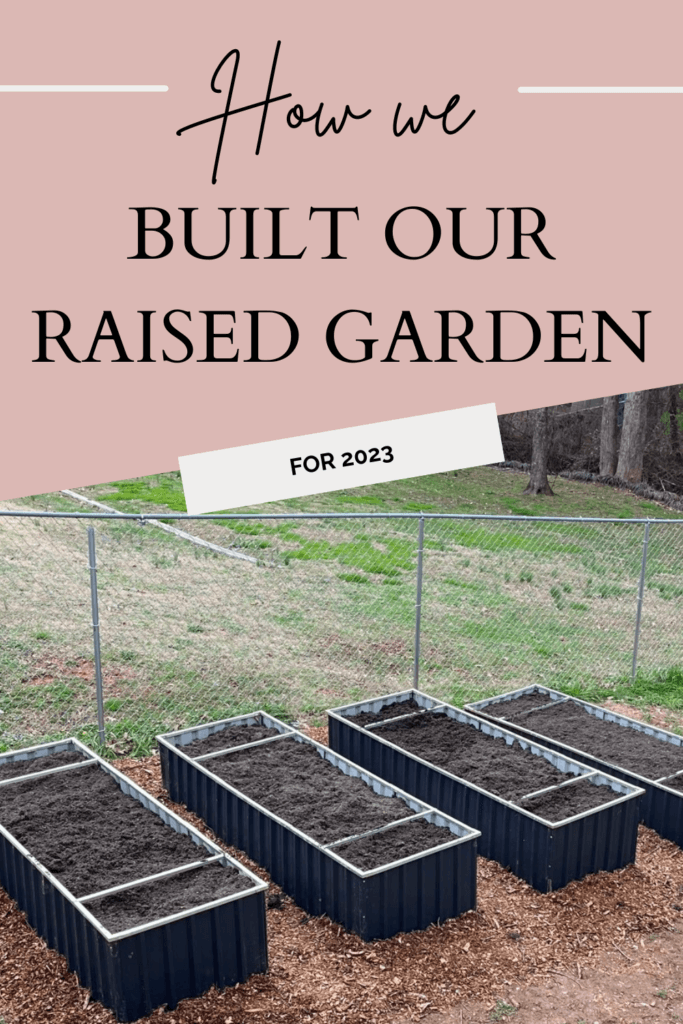
Building the Garden
Okay, so this part was an exercise in the marriage department. 😂 I ordered these raised garden beds from Amazon (the price has increased since I bought them) and built them myself. However, we both quickly realized that the beds needed major reinforcements, so we added screws to the sides and screwed down all the joints. Looking back, I would have just pestered my husband until he built me some wooden beds instead of buying these. But it is what it is.

We rented a trencher (which is significantly cheaper than a skid steer) and decided to “trench” out the areas we needed in order to get the raised beds level. We used a transom to figure out how far down we needed to dig and then used a regular ol’ construction level to determine when the beds were level. This was a great plan as it allowed the bed to fit down in the ground around the area we just dug out. Thus resulting in less filling of the garden beds later on.

From there, we placed a layer of weed cloth and then a layer of sticks/small branches/small logs. Then we added a layer of mulch from a neighbor’s yard that had just had a bunch of trees removed and mulched. (The mulch was fresh and was not covered in paint or other chemicals. I only recommend using mulch that hasn’t been treated in your beds). Then we added a layer of compost from our compost area (we’ve been composting our grass clippings for years, so we had an excellent compost full of worms and good soil). Then we topped it with the expensive store-bought soil from Home Depot.
Compost/mulch layer:

Total Cost for Our “Frugal Garden” 😬
As I said earlier, the goal is that this garden will pay for itself over time as we add on to it. Therefore, I don’t know that I’d call this the most frugal thing ever, but it wasn’t as expensive as I initially thought. I count that as a win.
Raised Beds: $720.76
Garden Seeds: $42.36
Tiller Rental: $300.00
Store-bought soil: $321.89
Grand Total: $1,385.01
Alright, there you have it! I’ll update you after we use the garden this season if it works to keep kids and dogs out. 😂
OTHER POSTS YOU MAY ENJOY